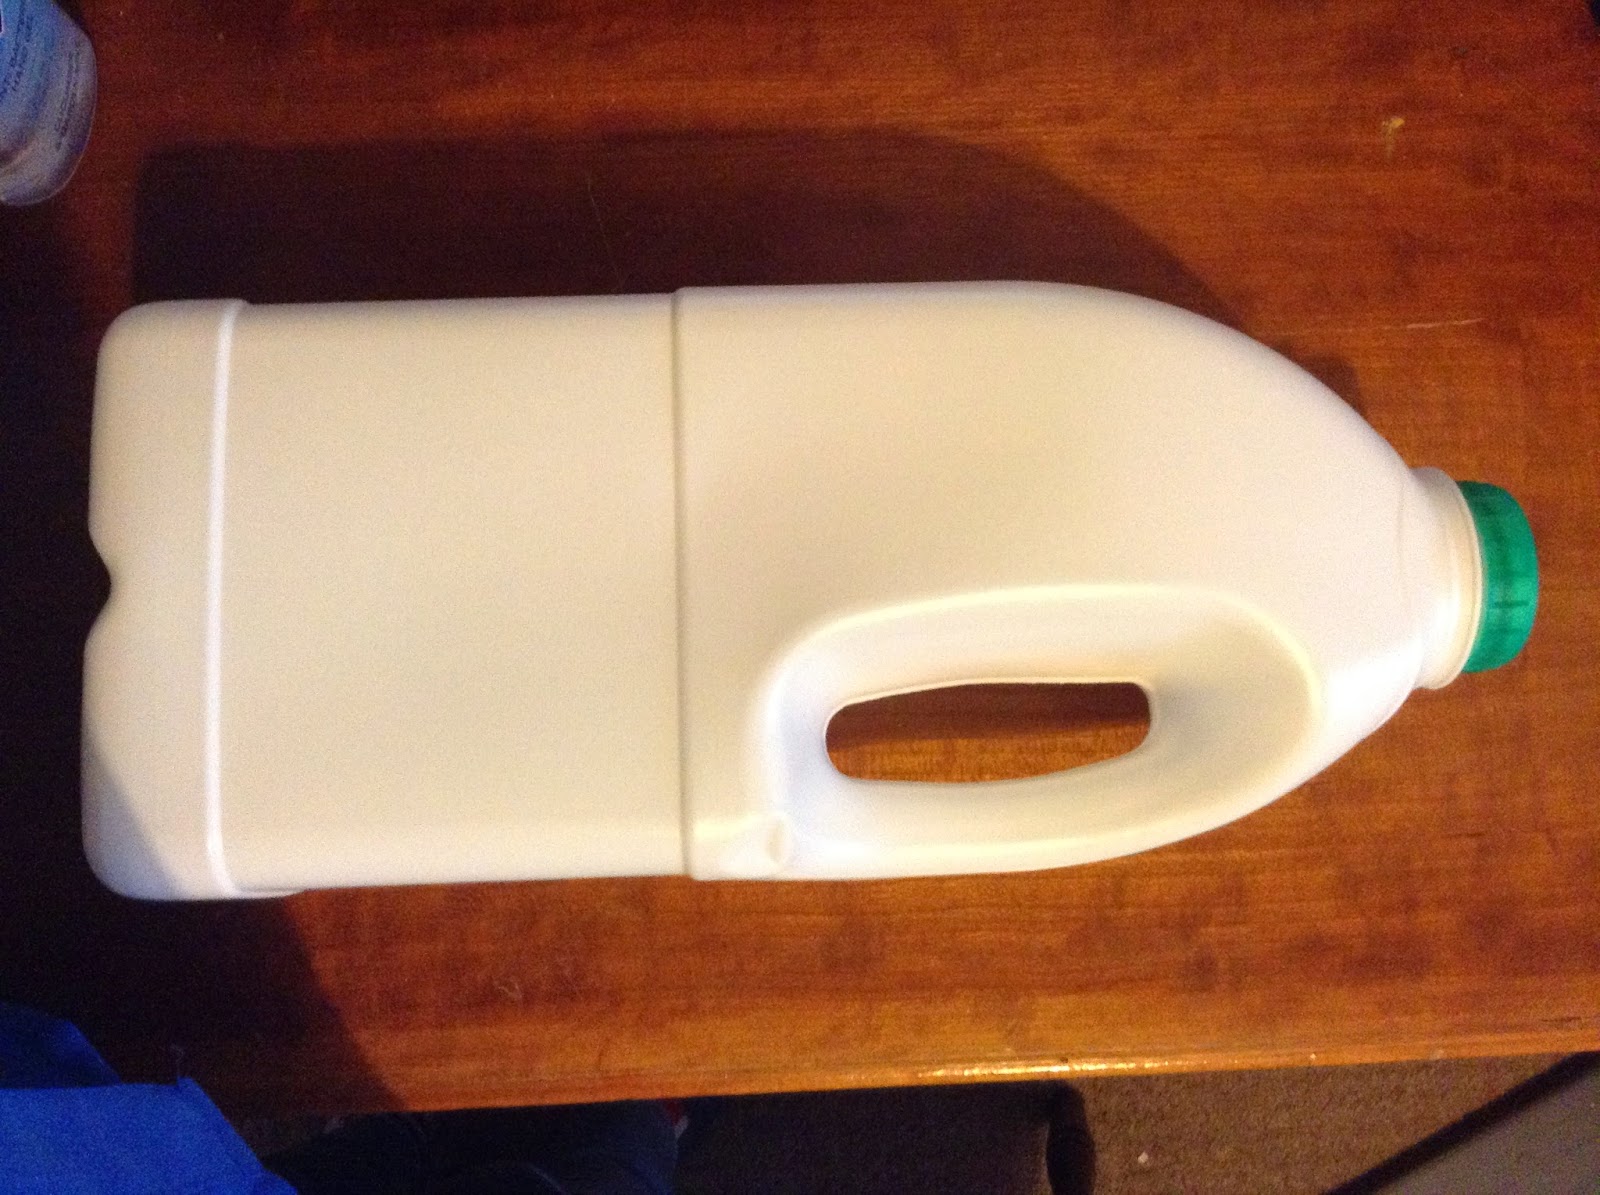
Here is a Step by step guide of how to create your own Elmer the Elephant.
1. Wash out and dry a milk bottle. The size does not matter and it is your decision as to what size you use depending on how large or small you want your Elmer to be.
2. Cut off the top of your milk bottle and from each side of the main part of the bottle cut out semi-circles to create the legs of the elephant, (if doing this activity with young children you may want to pre-prepare this or help the children).
3. Cut out small squares of tissue paper in a variety of rainbow colours and glue them to the bottle using glue.
4. Once Elmer is covered in tissue its time to add eyes. You can either draw, paint of glue googly eyes to your Elmer it up to you!
Your Elmer is complete!! This activity would work really well with EYFs as if the bottles are prepared in advance the children can complete the task independently!!!You could also use this as an opportunity to talk to your children about recycling and how we can sometimes reuse items that we might usually throw away.


No comments:
Post a Comment